Free in-store pickup available!

Trying Out the Love of Colour Natural Dye Kit
by Emily
Working in a yarn shop is already a lot of fun, but once in a while Janet hands me a task that truly delights my inner-child - and testing out our new natural dye kit from The Love of Colour was definitely one of those times!

What makes a dye a "natural dye" (as oppossed to, say, the ubiquitous neon tie-dye kits you see in big box craft stores) is usually that the color pigment is obtained from a naturally-occuring plant (or as you'll see, sometimes animal!) material - think flowers, certain kinds of wood chips, etc. The kit I chose to test out is pretty phenomenal because it includes four of the most famous "bright" natural colors found in nature (excluding indigo, which is its own kit).

The four included in this kit are:
Osage: You know Osage Orange trees? The kind that yield those giant bumpy round fruits that people sometimes put in their houses to deter spiders? This is wood chips from the wood of that tree! It yields a bright lemony yellow color.
Logwood: The heartwood chips from the logwood tree (native to Central and South America) makes the richest purples, dark greys and even black. I was going for a nice medium purple in this kit, but you could definitely go darker or lighter.
Madder: This dye is taken from the roots of the perennial madder plant and has been used for dye for literally thousands of years, dating back to the 3rd millenium BCE in India. It's a fascinating color, yielding a range from orange to "millenial pink" to a rusty red color, depending on additives you might use to alter the acidity of the dye bath (more on that later).
Cochineal: Ah, cochineal! This absolutely WILD pink dye comes from the cochineal beetle. The cochineal beetle lives in Mexico and the American Southwest on cactus plants, and produces carminic acid to deter predators - This acid also makes a bright pink-to-purple dye (again, depending on the acidity) and is commonly used as a colorant in food and makeup.
The Love of Colour Natural Dye Kit includes very detailed, step-by-step instructions. The kit includes the four dyes, plus two "mordants". Mordants are basically like the "glue" that makes the dye stick to whatever it is you're dying, so that it doesn't wash out with soap or detergent later on. Depending on whether you want to dye something plant based (i.e. cotton fabric or cotton yarn) or protein based (like silk or wool), you'll use a different mordant.
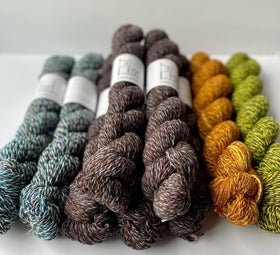
In my case - I wanted to dye what I had readily available in my house. This wasn't my first foray into natural dyes, so I had a few 100% silk hankies, a small handful of roving (unspun) wool, and an almost-full skein of 100% wool yarn which I split into four mini-skeins. Because all of those things are protein/animal-based, I used the appropriate alum mordant and followed the kit's instructions to prep my materials. After pre-washing my fibers (this is also called "scouring"), I dumped everything in a big stainless steal pot on my stove and slowly heated it with water and alum per the instructions.

A couple little notes on selecting tools: Most dye kits will suggest that you have special pots used only for dyeing and never for food. I have a big stainless steel pot that I picked up from a thrift store that I keep in my basement for any kind of dye project, and have found it helpful for other crafty projects too. I use old thrift store wooden spoons for stirring. Thrift stores are GREAT for this sort of thing. You can tell its stainless steel (and therefore, nonreactive for dyeing) if a magnet sticks to it.
THAT SAID! While it's ideal to use all separate materials for dying, if you need to use a kitchen measuring cup or bowl for some of the steps, just make sure to really sanitize it if you plan to ever use it for food (some dishwashers have a "santitize" setting). Glass is much less likely to hold onto dyestuff than say, plastic or wood. The dyes this kit includes are not edible, so use good judgement when deciding what to use for stirring spoons, bowls, etc.

I scoured and mordanted my fibers on the first day, and then kept them in a gallon-sized zip lock bag until I was ready to dye.
The next step in the process was to turn the bags of dried dyes into liquid dye "extracts." The instructions are thorough, but the gist is basically that for each color, you need to simmer the dye stuff for 10 minutes in a pot with water, strain it into a large jar, and then put the dye stuff back into the pot for a subsequent simmer. You are to repeat this process 1-4 times, until the water you're simmering starts to turn clear. As you can see above (that is the osage orange dye being simmered!), I used a small pot for this step. If I were to do this again, I would use a larger pot with more water because for some of the dyes (especially the logwood!) I had to repeat the simmer step a bunch of times and ended up with quite a lot of dye extract.

Above is what my little kitchen set-up looked like. I used a metal kitchen strainer on top of an old quart-sized measuring cup. Some of the dyes only needed the fine-mesh strainer to make the extract (logwood, osage). I "buzzed" the cochineal in a spice grinder a little too aggressively and ended up with a powder, so I used a coffee filter with that dye extract. This was time-consuming, I'm not sure further grinding of the cochineal is absolutely necessary. Similarly, when I tried to filter out the madder dye (which comes as a powder) with a coffee filter, it simply did not work. Because I didn't have cheesecloth (which probably would have worked well!), I ended up just leaving the madder unfiltered and used the dye mixed in with the water to dye my fibers.

Here are all of my extracts lined up! I used old glass jars & bottles to store everything (I put them through the "sanitize" setting on my dishwasher after use). Making the extracts was definitely the most tedious step in this process, but I felt a bit like an eccentrict alchemist or magical woodland hermit with all my jars of extracts! After this process was done, I left everything on the counter overnight.
By Day 3 I was ready to start dying! Again, I followed the instructions from the Love of Colour Kit closely. From here on out, things are very simple - You put your dye in your dye pot (I used the same big pot I used to scour and mordant), plus additional water if necessary to completely cover the fibers you're dyeing, slowly heat everything up to almost-simmering, and gently stir every so often for approximately an hour, then take off the heat and let cool.
Here is my cochineal dye....

After "cooking", I ended up just letting my cochineal-dyed fibers sit in the dye overnight to cool. Then I rinsed it in my sink until the water ran clear.

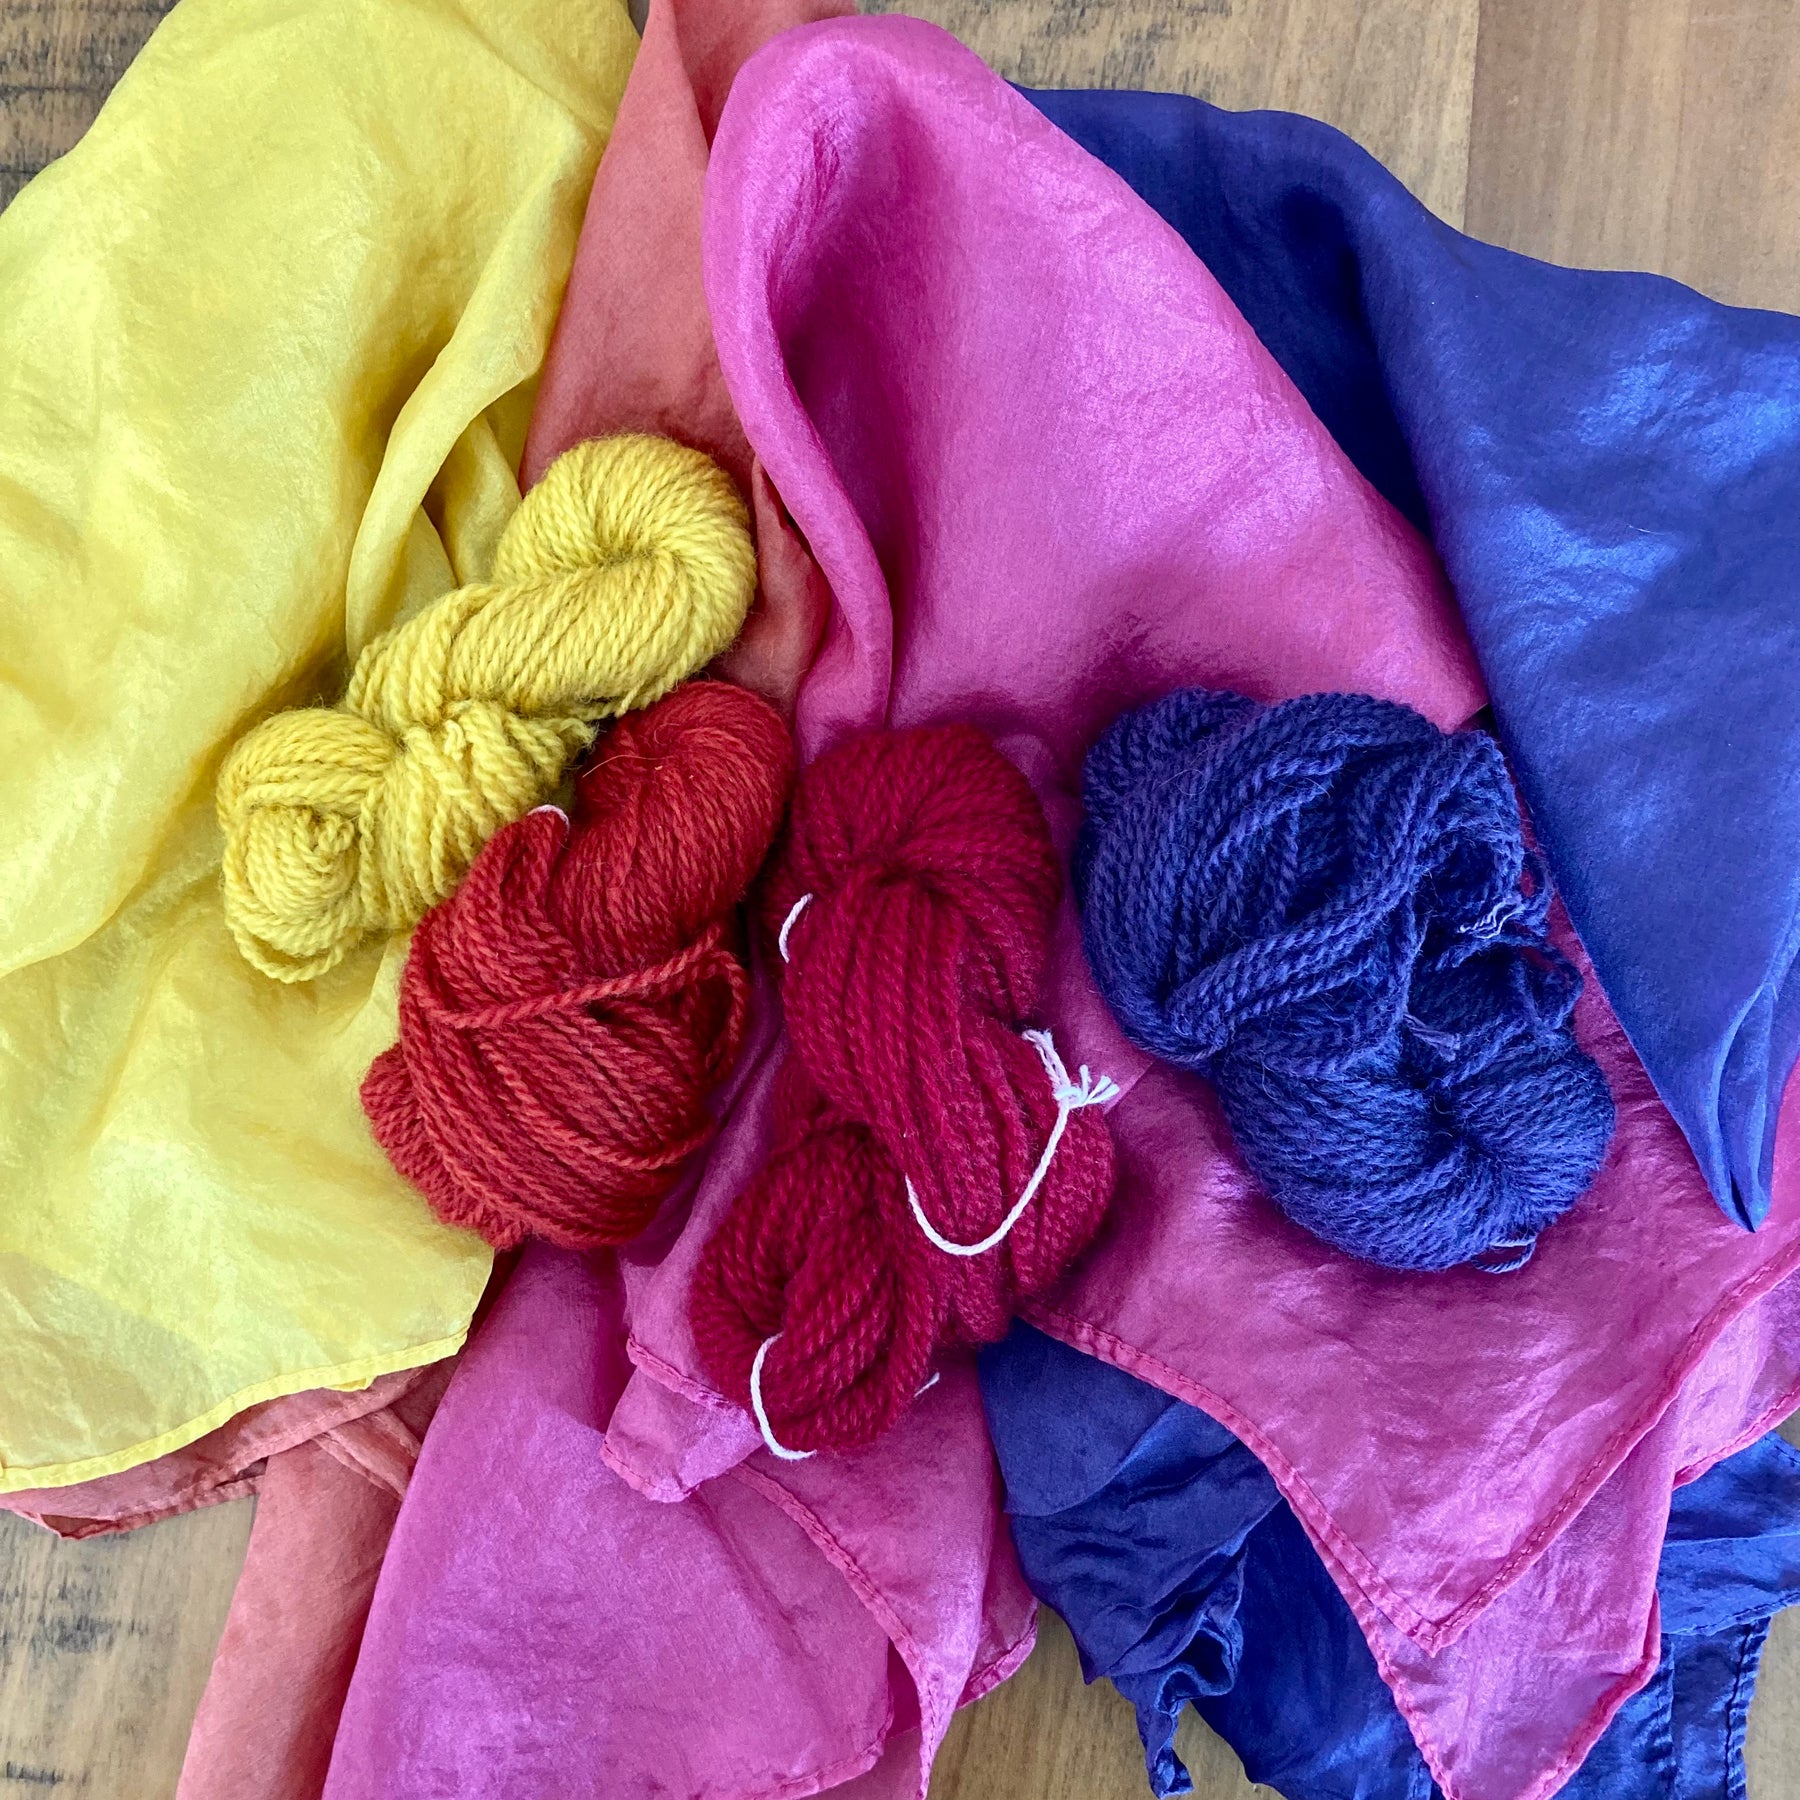
Oh la la! I did add one teaspoon of cream of tartar to my cochineal dye, because the instructions recommended that this would alter the acidity of the dye to move it from a purple-y pink to a red-ish pink. As you can see, the wool yarn and woold roving turned out a very dramatic red and the silk scarf a pretty vibrant pink. Amazing how different fibers take the same dye differently!

My roving wool did accidentally felt with all that heat, but I was able to needle-felt my pieces into little hearts. You can really see the color difference between the silk scarf and the wool here too!

The dye process itself took quite a bit of (mostly hands-off) time, so I did this process over two days. In the end, I was so suprised and pleased by how bright the colors tuned out! Here below is the madder-dyed fiber, which I decided not to alter (the instructions say you can add a calcium tablet, like TUMS, to push it towards red, but I was going for orange and was not disappointed!).

One thing I was particularly struck by was the large VOLUME of dye that this kit produces. I could easily have dyed much more than my mini-skein and hankie, and some of the dyes (especially the logwood), I feel could have been used a second time for perhaps more gentle pastel colors on another fabric. If you're using this kit, definitely consider saving your dye for a second project!

Final thoughts: From beginning to end, using this kit took me 5 days to "complete." If I make this kit again (and I probably will, because my kids have been begging to dye skeins of their own!), I would focus on one color at a time for one project to make things more manageable. My other tip is to prepare a little extra in the scouring and mordanting step at the beginning. Once the extracts had been made and I was dying, I wish I had MORE ready to experiment with, but I was limited to the small amount of material I had on hand (I would have loved to have a second silk hanky to try a tie-dye effect!).
I had SO much fun with this that I made a whole second blog post with dozens of ideas of things to make with naturally-dyed fibers - check it out for some inspiration!

📌 Save this Pin for Later!
Leave a comment