How to Make Plarn (Plastic Yarn)
Did you know that plastic bags CANNOT be put in the recycling bin? In fact, the presence of plastic bags is one of the most common items that cause problems in recycling centers in our local community of Glen Ellyn, Illinois - Bags get caught up in and clog the largely-automated system. If workers see a full plastic bag, it and all of its potentially-recyclable contents go straight to the landfill. In Illinois, only 8.1% of all plastics get recycled, largely because well-meaning residents don't recycle properly. But never fear! Plastic grocery bags can be recycled safely by bringing them back to most big grocery stores, which have special collection boxes for plastic bag recycling.
But sometimes bringing those bags back to the grocery store isn't realistic. Or maybe you just want to do something creative to start a conversation about recycling.
Enter plarn.

Making plarn (plastic yarn) is an awesome way to creatively upcycle all those plastic grocery bags you've got stuffed under your sink! There are a ton of tutorials across the internet, but here is the process I like to use to make my own plarn for crochet and knitting projects.
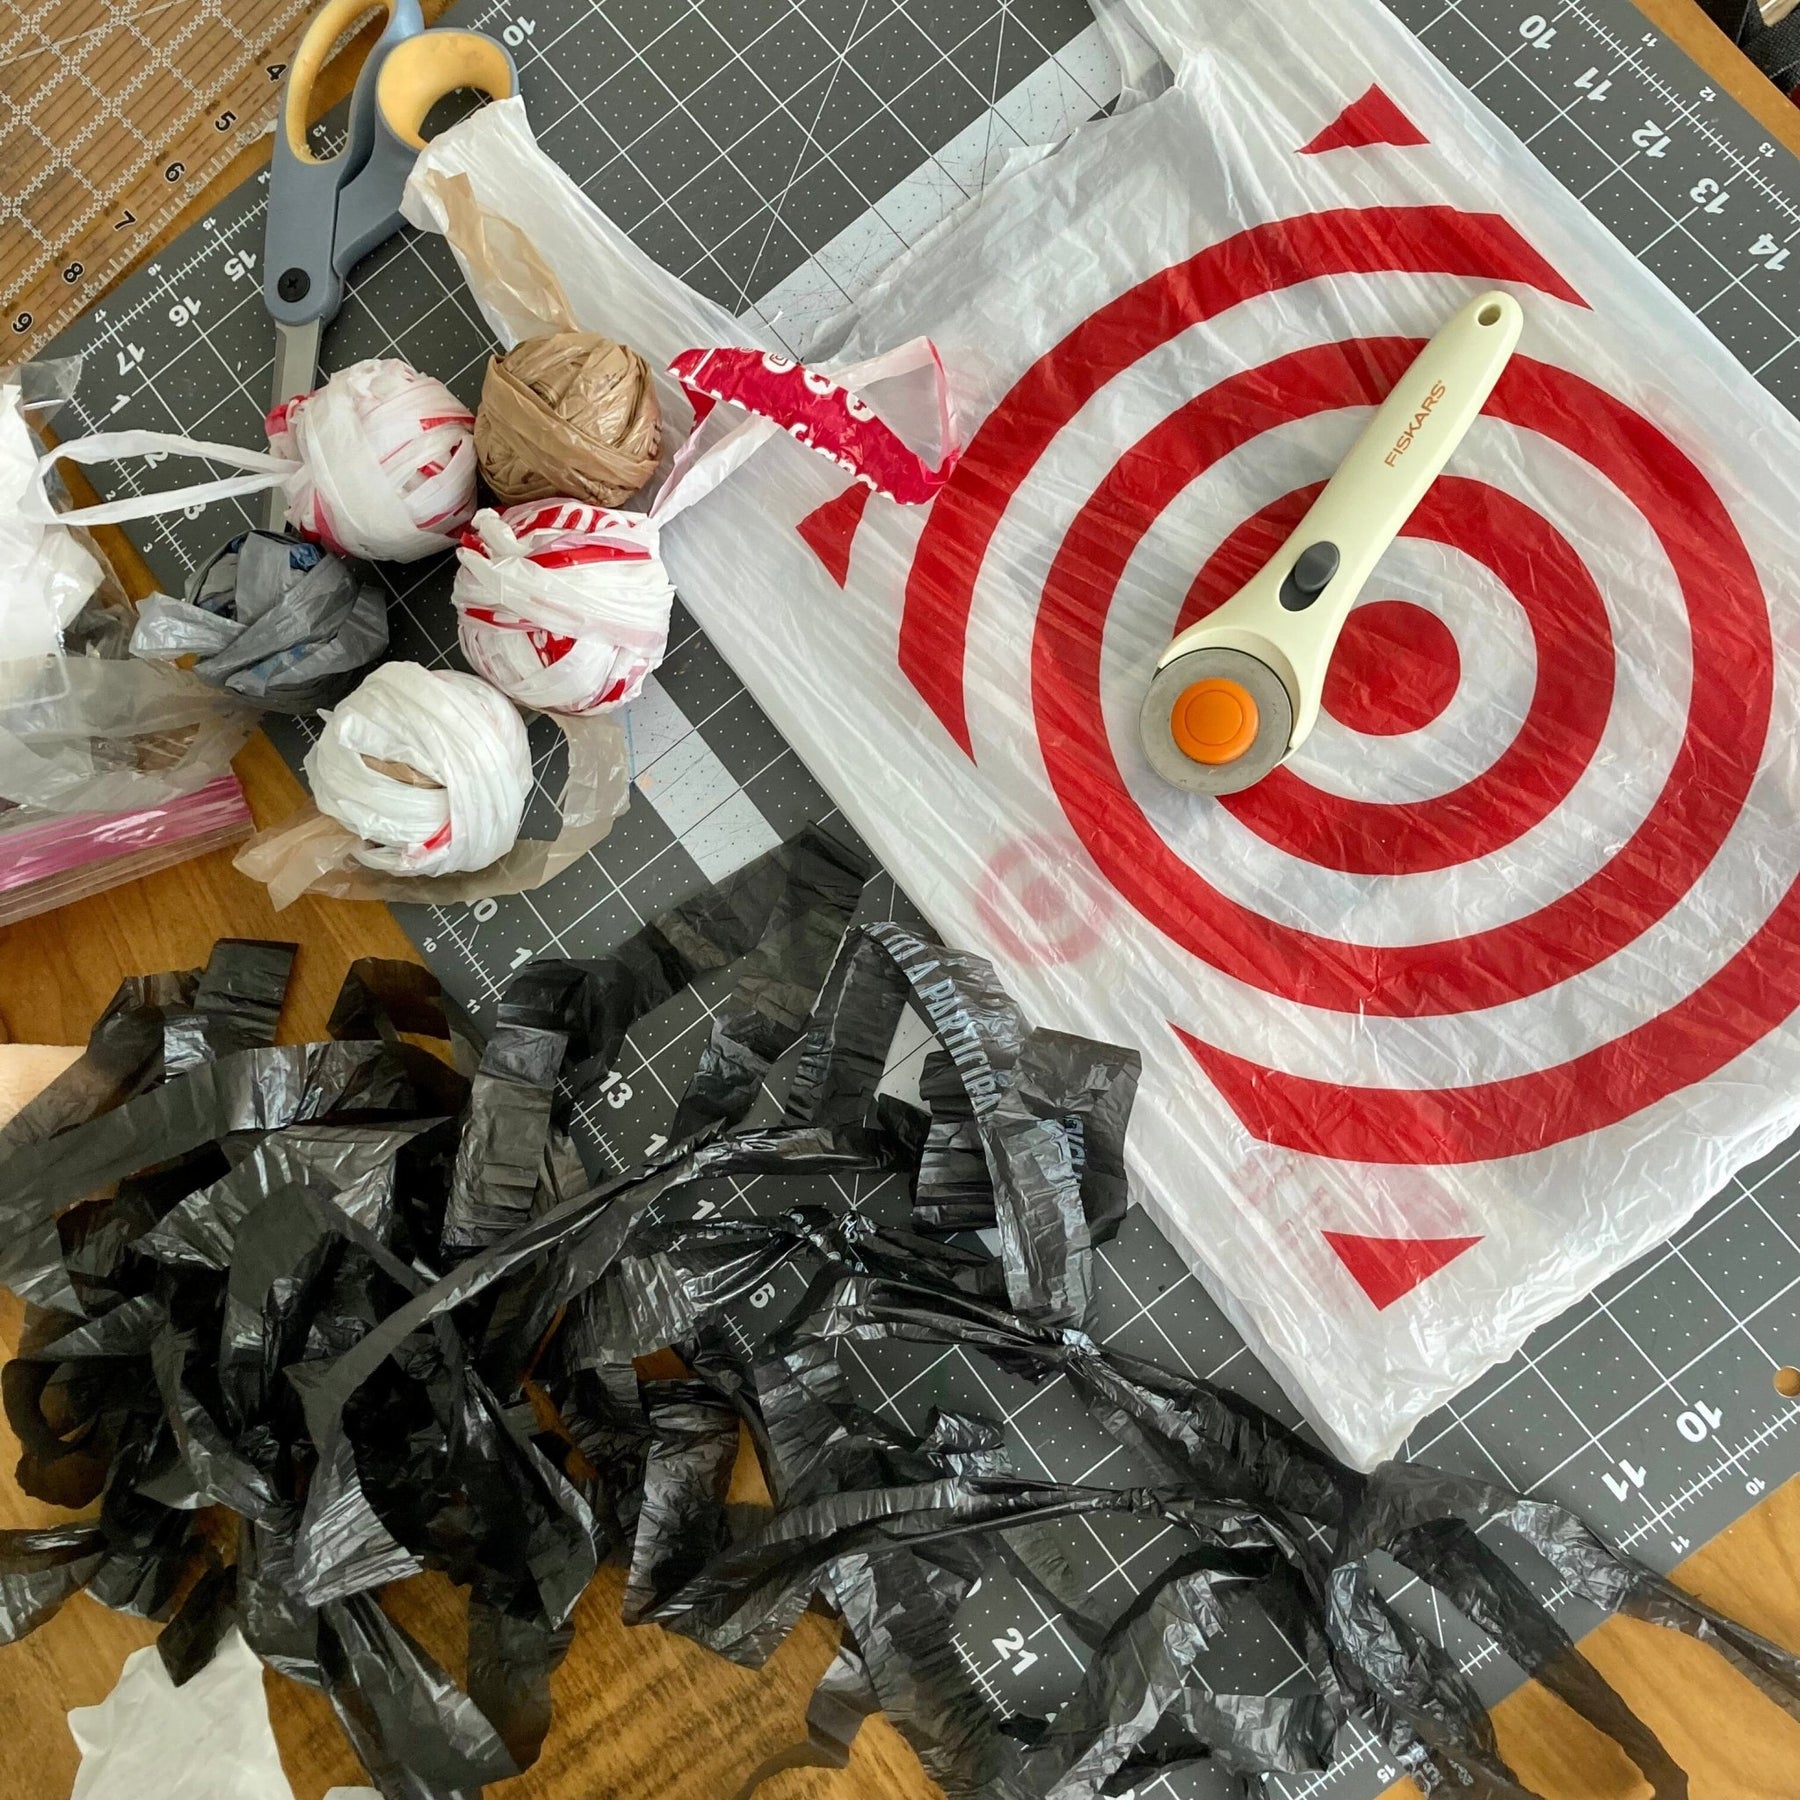
1. Collect your tools. You'll need a pair of sharp scissors (I use a combination of scissors and an old rotary cutter), a ruler, and optionally, a large self-healing cutting mat. You'll also need 5-25 plastic grocery bags for most small-medium projects.

2. Lay out your grocery bag as flat as possible on a table or self-healing mat. I like the mat because the grid lines help me to keep things as even as possible, but its not vital.

3. Use your scissors to cut off the handles and uneven edges on the end of the bag.
4. Fold your bag lengthwise (like a hot dog) once, then a second time, and then a third time. You should have a long, skinny rectangle approximately 1-3" wide.

5. Next, use your ruler or the grids on your cutting mat to cut 1" thick sections of the bag. When you unfold the section, it will look like a long loop. Cut as many pieces as you can (I usually can get 12-14 loops out of a standard grocery bag).

6. Once you have a big pile of loops, you can assemble your plarn. Lay two loops on a table next to each other in a long line, then overlap the piece on the right with the piece on the left, placing the end of the right piece in between the two "legs" of the loop on the left.

7. Push the end of the right loop in between the legs of the left loop, turning it so that the end of the right loop goes all the way through the legs and back to the right. Pull the right loop all the way through - the end of the right loop will be between its own two "legs." Pull it all the way through very gently, so that the two loops are connected and there is a knot in the center.


8. Continue in the manner with as many loops as you like. I've found that one standard plastic grocery bag yields approximately 6.5 yards of 1"-thick plarn. Gauge-wise, I treat is as a bulky-weight yarn and use a size I/5.5mm crochet hook.

Once you have a good-sized ball of plarn, you can treat it as you would regular yarn but do know that plarn has very little "give" and is a bit fiddly to work with. I've found most of my plan patterns on Youtube, although there are many on Ravelry as well.
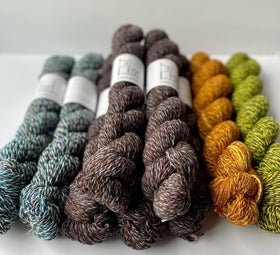
Maybe use your plarn to make a project bag to hold the many eco-friendly yarns we offer at String Theory! I'm partial to the Madelinetosh Woolcycle Sport and the gorgeously-speckled Gaia.

Have you ever made plarn? Tell us your experience in the comments!

Save this Pin for Later 📌


Comments
Leave a comment